Knowing how to create clothing mockups in Photoshop is very useful. It helps designers stand out, whether in a contest or selling clothes. Clothing mockups make designs look better and show customers how the final cloth will look. Let’s get started!
Table of Contents
How to Create Clothing Mockups in Photoshop Step-by-step
Here is a step-by-step guide on how to create clothing mockups in Photoshop. For this tutorial, we will use a t-shirt template.
Many people simply place a design on a plain t-shirt image and call it done. That’s fine, especially if you have many color options to show. If you want your mockup to look more like a real t-shirt, follow this simple trick:
1. Find a t-shirt image that already has highlights and shadows (light and dark areas). For a free template, visit Mockupgenerator.ai and pick a t-shirt in PNG with high resolution.
2. Put your design on top of this image in Photoshop.
3. The highlights and shadows will make the design blend naturally, making the t-shirt look real.
We picked an image from there! It has some folds—one small, one medium, and one big. These folds will be part of our logo when we put it in.
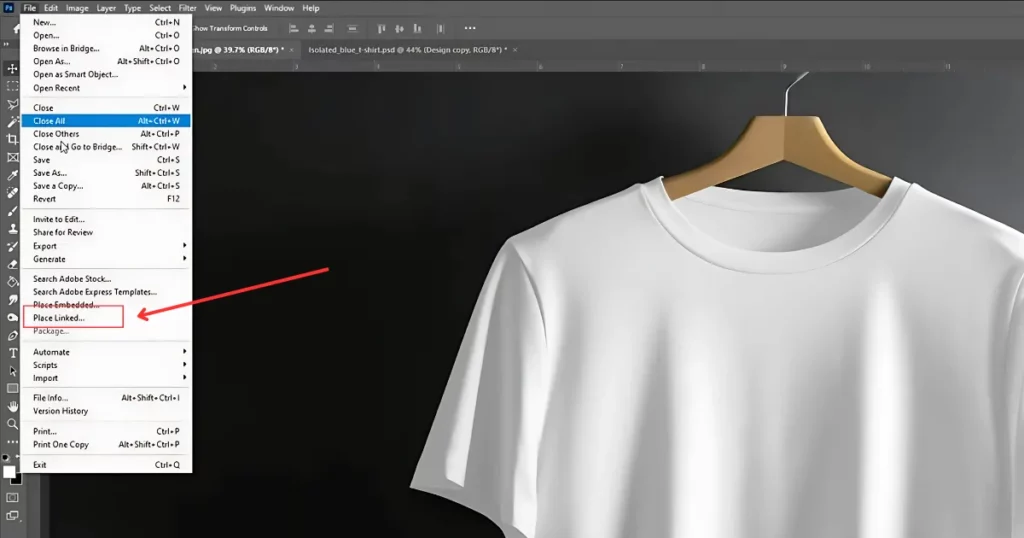
Step 1: Add the Logo
Go to File > Place. Choose Linked or Embedded. Select a PNG (clear background), PDF, AI, or EPS file for best results. Adjust the size to make sure it fits well.
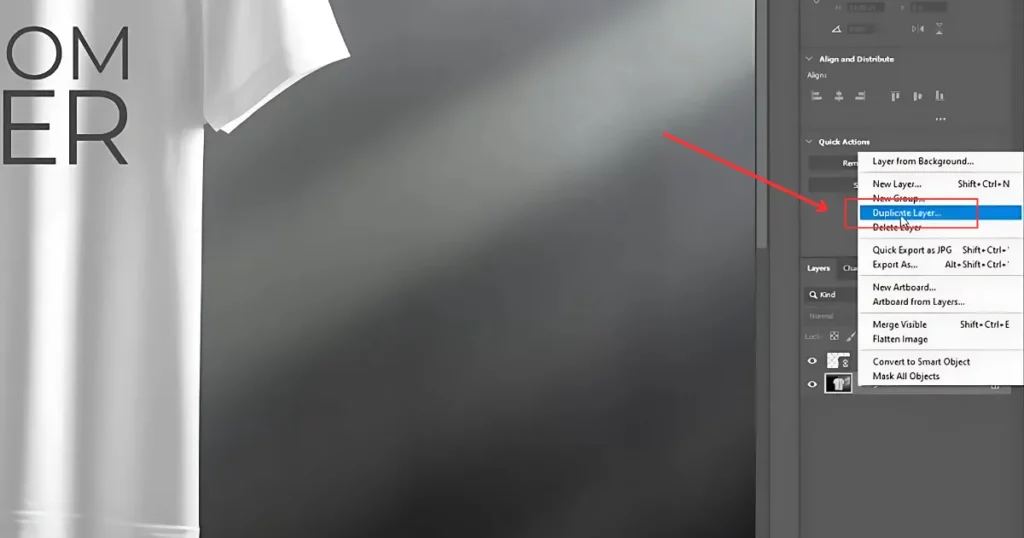
Step 2: Work with Layers
Open the Layers panel. Right-click the background > Duplicate Layer > Click OK. Drag the new layer above.
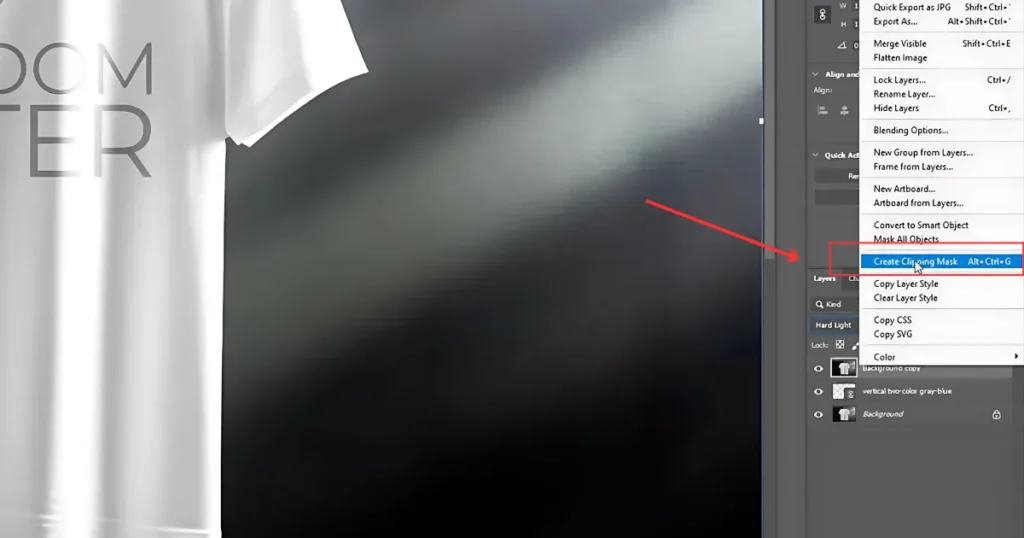
Step 3: Blend the Logo into the Cloth
Find the “Normal” option (blending mode). Change it to “Hard Light”. Right-click the logo layer > Click “Create Clipping Mask”.
Step 4: Adjust the Image for Realistic Lighting
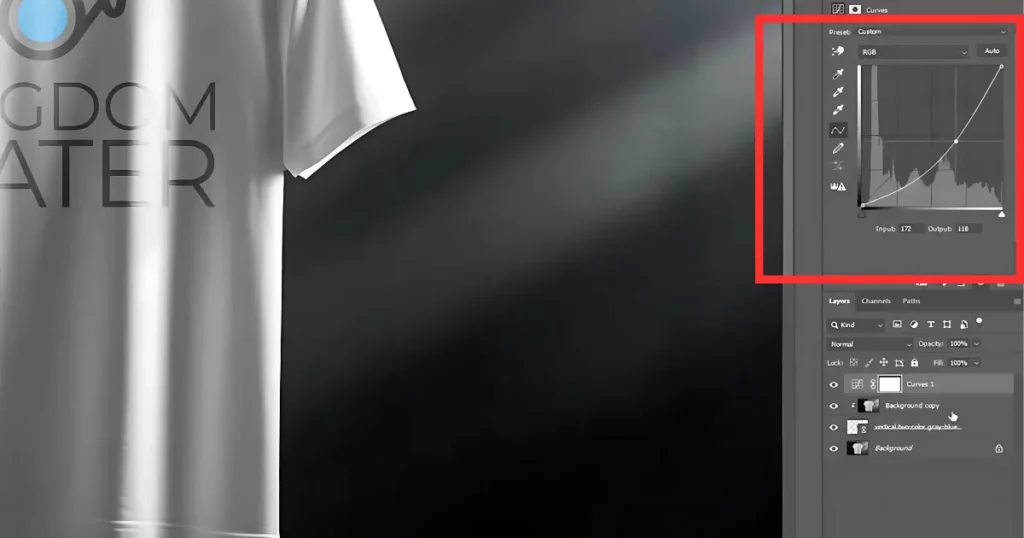
Go to Image Adjustments > Desaturate (Shift + Ctrl + U) to make the image black and white. Make a curve adjustment layer by layering a new adjustment layer and then adding a curve adjustment layer.
But now, right-click on Curves > Select Create Clipping Mask (so it only affects the shirt). Click in the middle of the curve to create a point. Drag the point to adjust brightness and contrast.
Step 5: Final Touches for a Realistic Look
Move the curve point until the highlights and shadows look natural. Turn the layer on and off to compare before and after. The lighting now looks realistic, just like in real life.
It’s okay for a quick preview, but if you have time, you can make it look more realistic. A better-looking proof might help you sell your design to customers. That’s the tutorial on how to create clothing mockups in Photoshop.
Best Free Clothing Mockup Generator to Use
Now, let’s show you the best AI mockup generator for clothing, where you can create and download free apparel mockups without a watermark. To create clothing mockups, follow the steps:
1. Go to Mockupgenerator.ai. Click Apparel and choose a category. Select a template or pick from tags.

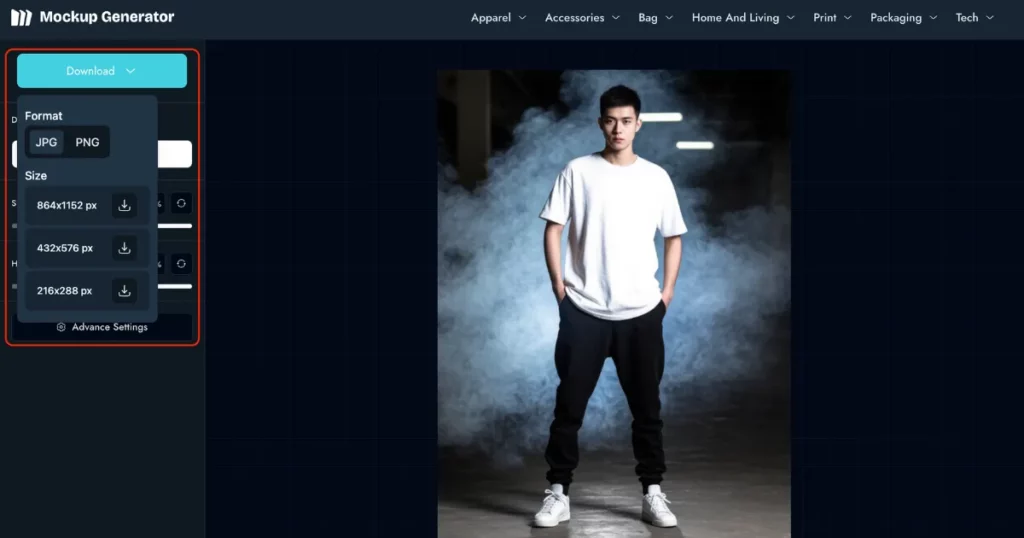
2. On the next page, upload your design. Adjust shadows, highlights, and other settings.
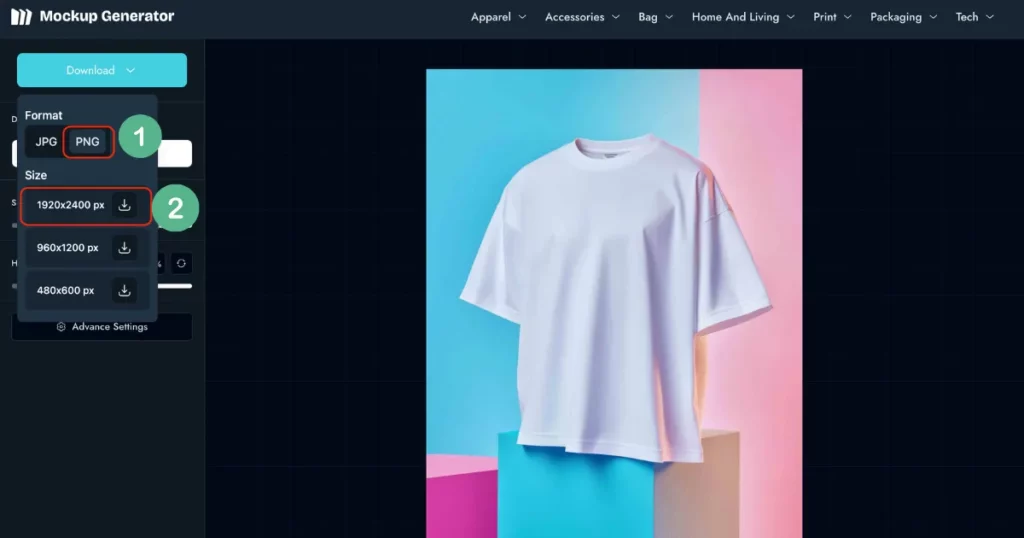
3. Click Download to save as JPEG or PNG. For a clear background, choose PNG.
Conclusion
In Photoshop, designers place their design on a blank cloth and use advanced tools to make it look real, like changing colors, adding shadows, and blending it with the fabric. Knowing how to create clothing mockups in Photoshop helps choose the best ideas before printing or making them.
In our opinion, it’s better to use Mockupgenerator.ai for free templates with different categories. Visit now!
FAQs
How to create a mockup in Photoshop?
To create a mockup in Photoshop, first, organize your images and designs neatly. Pick a background image that fits your product. Open it in Photoshop and mark where your design will go. Add your design, resize it, and blend it naturally using effects like shadows and color adjustments. Check for mistakes, refine the look, and save your mockup in JPEG or PNG format.
How to mock up a t-shirt in Photoshop?
Open Photoshop and load a plain t-shirt image. Drag your design onto it. Resize and place it properly using Ctrl + T. Change the blending mode to Multiply so the design looks natural. Adjust brightness or blur if needed. For a more realistic look, use a displacement map. Save your work as a PSD for edits and export as a JPEG or PNG.
Can you design clothes in Photoshop?
Yes, you can design clothes in Photoshop using its different tools. First, set the right document size for your garment. Use layers to add graphics, patterns, and colors. To change colors, adjust Hue/Saturation. Templates help keep designs accurate. Photoshop is great for detailed artwork, but Illustrator is better for patterns and shapes.
Does Canva have clothing mockups?
Yes, Canva has clothing mockups, but the templates are old. Nothing new. Also, you don’t get many customization features. For fresh and high-quality designs, use mockupgenerator.ai.